Stay - Express Mobile Integration Enhancement
The following enhancements have been made to the Stay - Express Mobile integration:
-
Generate a QR to facilitate guests to retrieve their reservation details in Express Kiosk.
-
Differentiate between the service provider of the ID verification, that is, CLEAR or MITEK.
Differentiate the Service Provider for ID Verification
During mobile check-in, the ID of the guest can be verified using CLEAR or MITEK service providers. When the ID verification is performed using MITEK, the existing functionality remains as is.
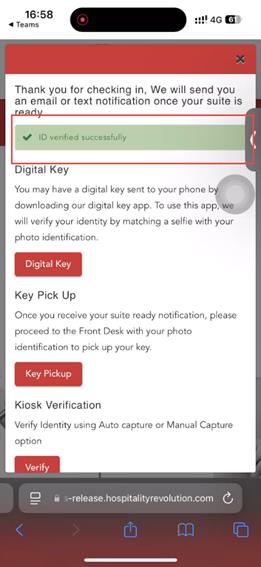
When the ID verification is performed using CLEAR, after the guest is successfully checked-in, the following pop-up message requesting them to verify their ID with CLEAR will be displayed:
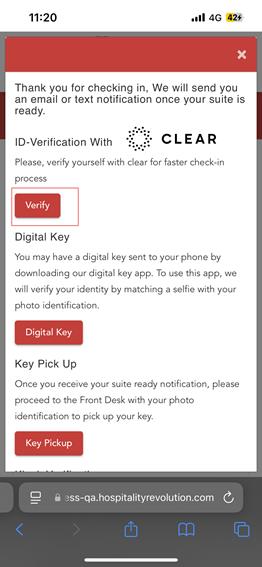
Here’s a sample scenario on how guests can verify their ID using CLEAR for the first time:
Tap the Verify button under ID Verification with CLEAR section. The guest is redirected to the Verify Your Identity with CLEAR page:
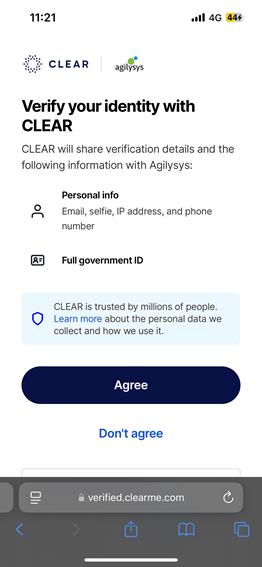
Tap Agree to proceed with the ID verification with CLEAR. The Enter Your Mobile Number page is displayed:
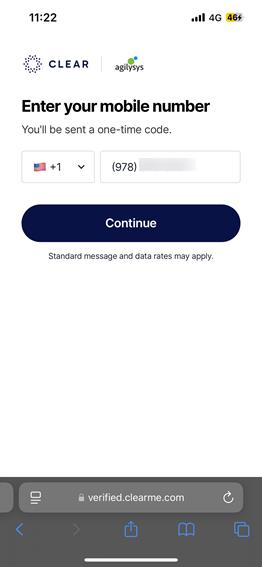
Enter the mobile number in the field provided.
Select the country code from the drop-down list that is displayed on clicking the flag near the phone number field.
Tap Continue. The Enter Your Email page is displayed:

Enter the email address in the field provided.
Read through the terms and conditions by tapping the CLEAR’s Member Terms hyperlink and Specifically Identified Info hyperlink.
Enable the checkbox to agree with the terms and conditions.
Tap Accept & Continue. The Enter Your Code page is displayed and a unique code is sent to the guest’s mobile number.
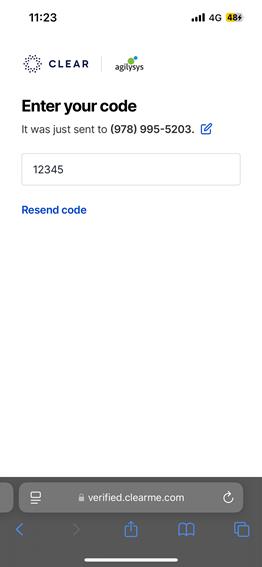
Enter the code sent to the mobile number in the field provided.
Once the entered code is verified, a CLEAR profile will be created for the guest and the Choose an ID to Scan page appears:
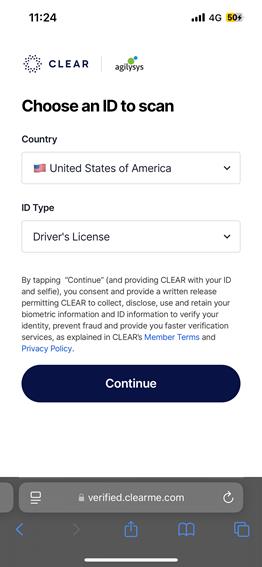
Select the country from which the ID proof was issued from the Country drop-down list.
Select the ID type from the ID Type drop-down menu. The following IDs are accepted for ID verification:
-
Driver’s License
-
Any Government issued ID Card
-
Passport Book
-
Passport Card
Tap Continue.
Capture and upload an image of the front-side and the back-side of the ID.
The ID proof uploaded by the guest for ID verification will be saved to the guest profile in CLEAR.
Once the ID is uploaded successfully, the Take a Selfie page appears:
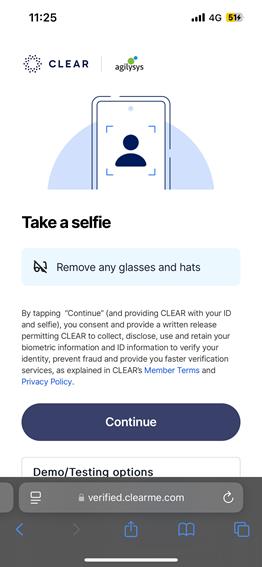
Tap Continue to capture the selfie and upload.
Guest IDs can be successfully verified only when all the following conditions are satisfied during the process of ID verification:
-
Both first name and last name of the guest in the reservation must match the ID submitted.
-
First Name- The property can choose one of the following match types for ID verification to be successful:
-
Exact - The first name in the document must match the first name available in the reservation.
-
Partial - A partial two-character continuous string in the first name in the document must match with the characters of the first name in the reservation. For example, if the name in the document is Robert, the ID verification will be through with Ro, er and so on. However, when the first name in the document is Robert, while the reservation has been made with Bob as the first name, ID verification will fail.
-
None - The first name in the document need not match the first name available in the reservation.
-
-
Last Name- The property must select any one of the following match types for the last name to be matched with the document proof scanned.
-
Exact - The last name in the document must exactly match the last name available in the reservation.
-
Partial - A partial two-character continuous string in the last name in the document must match with the characters of the last name in the reservation. For example, if the name in the document is Langdon, the ID verification will be through even if La, gd, and so on.
-
None - The last name in the document need not match the last name available in the reservation.
-
-
-
Guest’s age must satisfy the minimum age limit condition configured to verify ID with CLEAR.
Properties can configure the preferred age limit to be considered as the minimum age allowed and the match type in the admin portal.
Once the ID is successfully verified, the following message will be displayed: ID verified successfully.
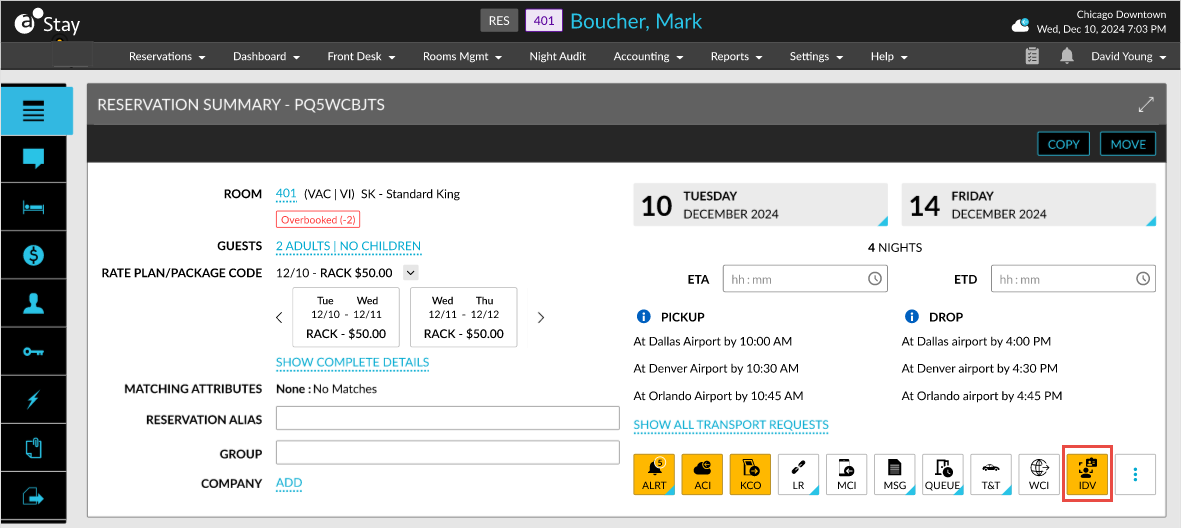
A new badge, IDV, is enabled in the Reservation Summary section of the reservation in Stay. This badge indicates that the ID verification was performed by CLEAR.
The next time the guest tries to verify their ID using CLEAR, or if they have a CLEAR+ subscription, and enters their mobile number or email ID, their profile details will be retrieved from CLEAR, and the ID saved to their profile will be used for verification. Guests can verify their ID by capturing a selfie.
When the ID verification is performed using CLEAR, the digital key is not automatically subscribed and generated for the guest. The digital key is subscribed and generated only if explicitly requested by the guest. When a digital key is not requested, only the ID is verified, and the key is not generated.
Generate QR to Retrieve Reservation Details
When guests check-in their reservations through Express Mobile, a unique ID is generated for the guest which is converted into a QR code. Guests can download the generated QR code or take a screenshot. This QR code can then be scanned at the Express Kiosk which facilitates a fast and seamless check-in.
After the ID verification is completed successfully, the Verification Successful screen appears.
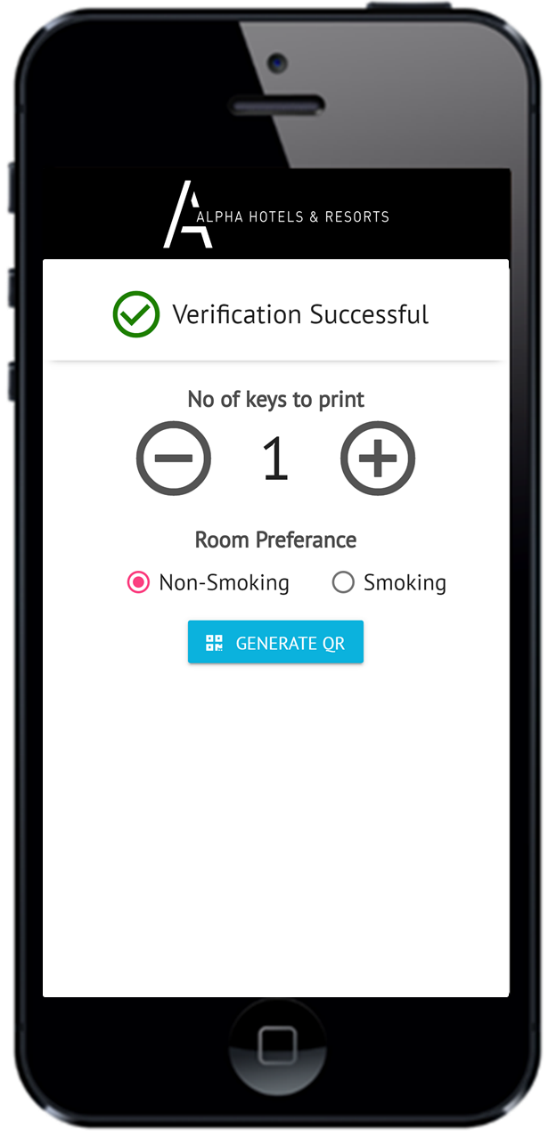
The Verification Successful screen displays the following details:
-
Number of keys to print - Allows guest to select number of keys required.
-
Room Preference - Allows guests to select room preferences either smoking or non-smoking room.
Number of keys to print and room preferences can be enabled or disabled in the Admin portal.
Select Generate QR. The QR code is generated.
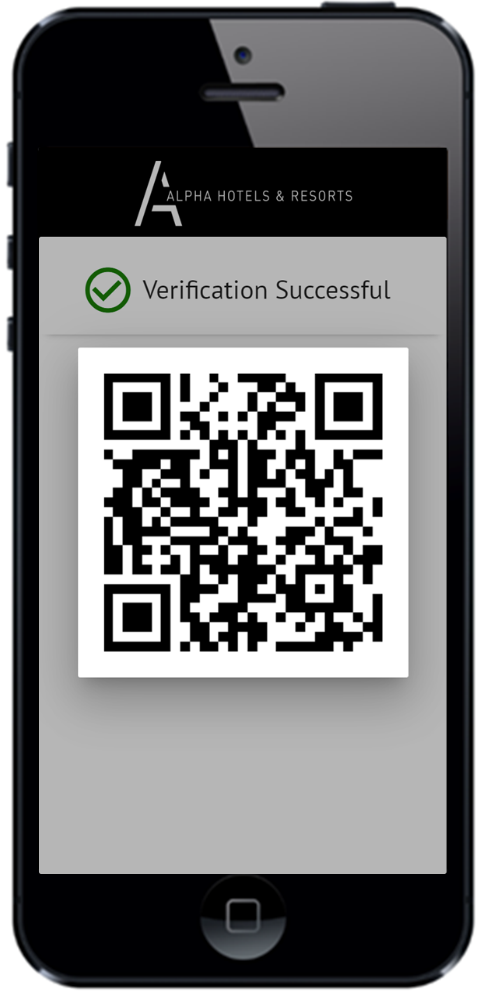
The QR code comprehends the following details:
-
First Name
-
Last Name
-
Number of keys to print
-
Room preference
-
Confirmation number
-
Arrival Date
Display the QR code against the camera on the kiosk, the QR code is validated and a room key is generated.
The guest can generate as many QR codes until it is validated. Once the QR code is validated and the key is printed, the guest will not be able to generate any QR code further.
If the QR code validation fails, the guest can generate a new QR code.
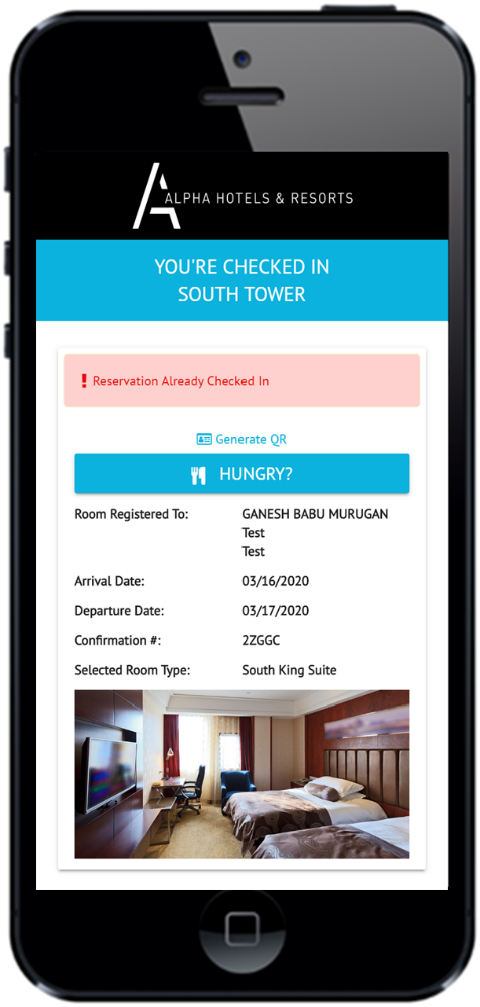
If the guest retries check-in after QR code generation, the following image appears.